Looking for some awesome tips on using Google Docs? Well, you are in the right place. Take your Google Docs knowledge to another level with these Google Docs tips. Read on…
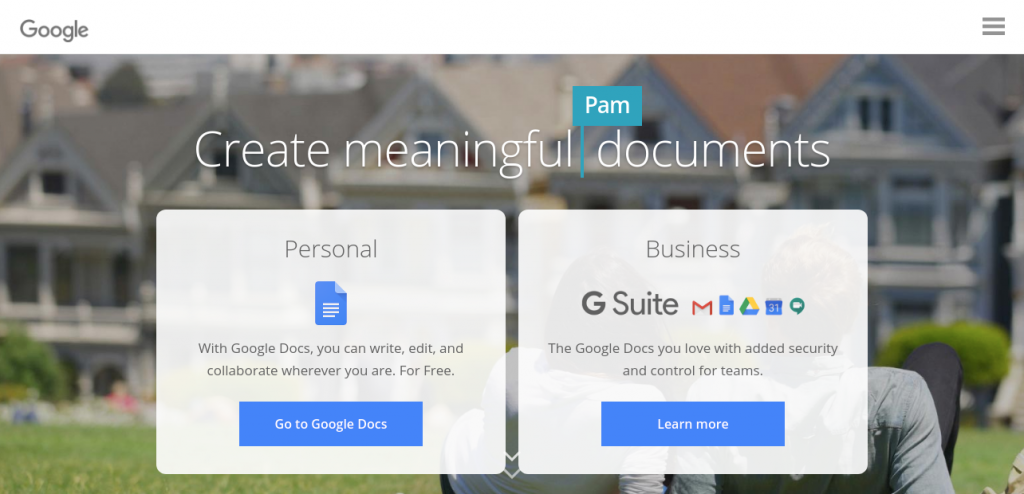
Do you love using Google Docs to get work done? You are not alone, as Google Docs has been one of the most successful cloud-based documentation tools over the last two decades. People from all over the world use Google Docs to create content, edit, and collaborate with their peers on documents and get work done.
However, it doesn’t do a particularly good job of showcasing its true potential. Whether you are a Google Docs power user or just starting out with it, we have compiled a list of awesome Google Docs tips and hidden features anyone can use to get the most out of Google Docs.
Top 17 Google Docs Tips For Better Productivity
Take your Google Docs knowledge to the next level with these amazing Google Docs tips. At the end of this blog post, you would be surprised to know how feature-rich Google Docs really is. So without further ado, let’s dive straight in…
- Collaboration
- Shortcut Keys
- Offline Mode
- Search Engine within Your Document
- Version History
- Move Paragraphs
- Voice Assistant
- Spell and Grammar Checker
- e-Signatures
- Search Menus
- Using Google Sheets inside Docs
- 5 ways to add an Image
- Adding Comments
- Tagging Co-Workers
- Automatic Word Substitution
- Dictionary
- Add-ons and Integrations
1. Collaborating with your colleagues
Collaboration with your peers is the first google doc tip on our list. There is more than one way to share a Google Doc with someone. The easiest way, however, is to generate a shareable link of the document and share it with the person you want to collaborate with.
There are three permission levels that you can set for your shared document:
- Anyone with the link can edit: This permission level allows the person to both view and make changes to the shared Google Doc.
- Anyone with the link can comment: Allows the user(s) to leave suggestions or feedback on the document if they want.
- Anyone with the link can view: This is the default action when you share a file. Users with this level of permission can only view the shared document and cannot make any edits whatsoever.

Once you have defined your permission level, you can copy the URL and share it with whomever you like.
Related: Top 6 Google Docs Alternatives for Businesses
2. Using Google Docs Shortcut Keys
Google Docs has a ton of keyboard shortcuts and tips to help you do your job faster. Once you get hold of these keyboard shortcuts, you can easily 2x your typing speed and get work done faster than before. Google has keyboard shortcuts for all the major platforms- Mac, PC, Android, and iPad. To open a list of keyboard shortcuts in Google Docs, press Ctrl + / (Windows, Chrome OS) or ⌘ + / (Mac).
To see the list of commonly used shortcuts while you’re working on a document, press Cmd + / on a Mac, and Shift + / or Ctrl + / on Windows.

Here’s a list of all the keyboard shortcuts for Google Docs: Shortcuts
3. Work Without Having an Internet Connection!
A cool tip in Google Docs is offline mode. The offline mode allows you to continue working on your Google Doc even when you are not connected to an internet connection.
You can do all your work offline and it will automatically sync to your account once you get back online.
To set up offline mode in your Google Docs:
- Go to the Google Docs homepage and locate the hamburger menu button on the left-hand side.
- Click on ‘Settings‘.
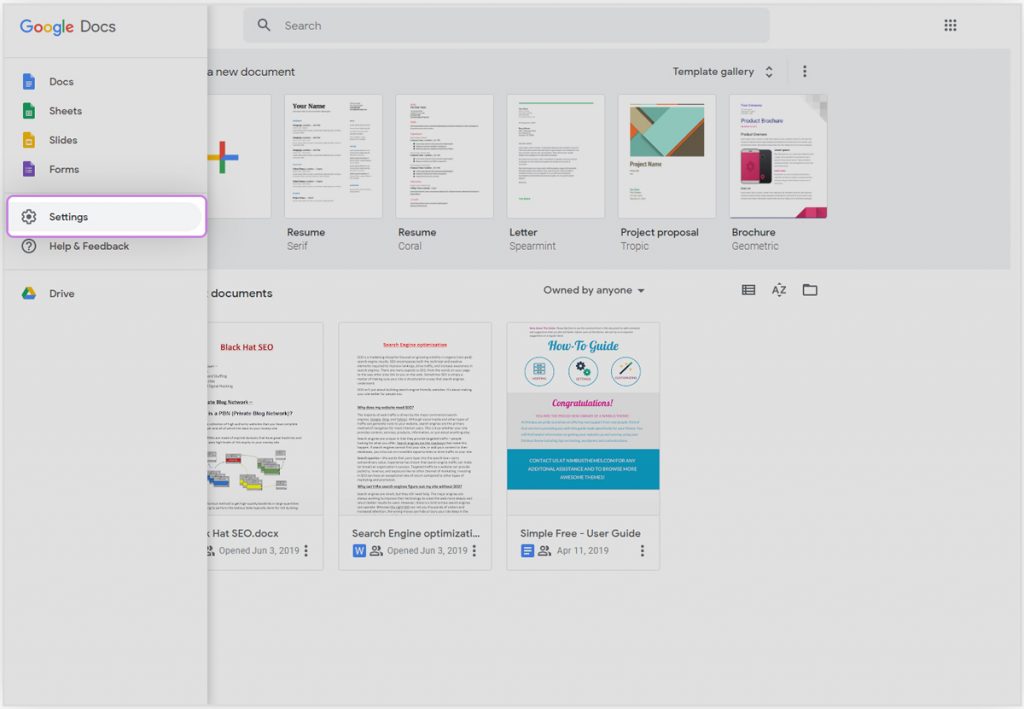
- A pop-up box will appear. To set up offline editing, toggle the ‘Offline‘ button to On.

Now you can continue working on your document even without an internet connection.
4. Search Engine Inside Your Google Docs!
Ever worked on a research paper and had to switch between your search results and Google Docs to do your work? We often need the help of the internet to do our job effectively. This is why Google decided to add search engine capabilities into Google Docs itself. Now you can continue working on your Google Doc without ever leaving the document tab with the help of the explore feature.
You can open the Explore tool on your computer in one of three ways:
- Once inside your Google Doc, go to the Tools menu at the top of your screen, then click Explore from the dropdown menu.
- You can also right-click on a specific word and select Explore and Google will show relevant information from the search engine.

- Use the keyboard shortcut Ctrl + Cmd + Shift + I (Mac) or Ctrl + Alt + Shift + I (PC).
5. Go Back in Time with Version History!
Ever wished you could go back in time and use a version of your Google Doc before you made those changes? Well, now you can with version history!
Version history shows you who made edits to the Google Doc when they made those edits, and what edits did they make.
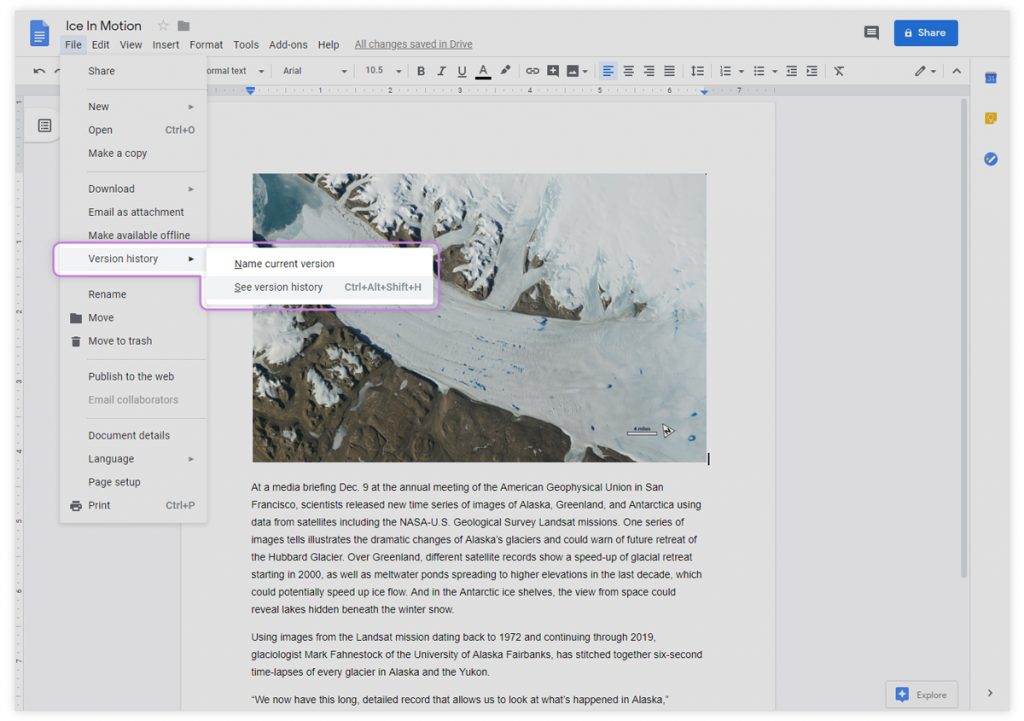
To access the Version History:
- Go to the File menu.
- Scroll down to see the Version History option. Expand it and click on ‘See version history‘. (Keyboard shortcut: ctrl +alt+ shift+h)
- On the right-hand side, you can see the entire history of your document and what edits have been made, when and by whom. Clicking on any version will show you the document with changes highlighted in different colors accounting for different people.
- You can restore any document version of your Google Doc by selecting the desired version and clicking the Restore This Version button.
6. Move Whole Paragraphs Around the Doc
Usually, when you have to move the location of a paragraph inside a doc, you copy-paste it to your desired location. However, If you are working on a big document with hundreds of paragraphs, copy-pasting can get confusing and you could accidentally end up messing up the whole thing. An easier way to do this is by using a keyboard shortcut.
Simply highlight the text you want to move, press Alt and Shift (or Option Shift on Mac), and then use your keyboard arrows to move the whole section up and down the document.
7. Use Your Voice to Type
Getting tired of typing the whole thing? I have an awesome tip for you. Use your voice instead! You can use your voice to write an entire Google document in the same way you use your voice search with Google Assistant on your phone on your desktop.
You can take care of all the formatting and punctuations without ever touching your keyboard by simply saying “period,” “comma,” “new line,” etc.
To use voice typing:
- Open a Google Document and click Tools from the menu at the top of the page.
- Select Voice typing from the dropdown menu.
- Click the microphone or press Cmd + Shift + S (on a Mac) or Ctrl + Shift + S (on a PC) to begin recording and Google will start typing as you speak.

8. Running Spell Check
Is it recieve or receive? Google Docs to the rescue again! You can use Google Docs inbuilt spelling and grammar checker tool to ensure you don’t have any grammatical errors or silly spelling mistakes.
To use spell check:
- Open a Google Document and click Tools from the menu at the top of the page.
- Select Spelling and Grammar from the dropdown menu or use the keyboard shortcut ⌘ + Alt + X for Mac or Ctrl + Alt + X for Windows.
- In the nested menu, you can turn on the “Show grammar suggestions” and “Show spelling suggestions” and Google will automatically show you the errors you have made in the doc as you type.

9. Add an E-Signature
E-signatures are important for office documents where documents need to be signed before sending them out to partners or clients. Without e-signatures, one would have to print out the documents, physically sign them, and then rescan them back to the PC and finally email them.
To create an e-signature:
- Open a Google Document and click Insert tab from the menu at the top of the page.
- Select ‘Drawing‘, from the dropdown menu and then the ‘Scribble‘ option.
- Now you can scribble your e-signature and add them to your Google Doc with ease.
10. Search the “Menus” Shortcut
By now you must be surprised as to how many keyboard shortcuts and hidden features there are in Google Docs. It’s easy to get lost in the sea of menu buttons and not find what you are looking for. This is why Google added a ‘search the menus’ option.
To access this menu:
- Open a Google Document and click Help Tabfrom the menu at the top of the page.
- You can also use the keyboard shortcut Alt + / for Windows or Command + / for Mac to access this option.
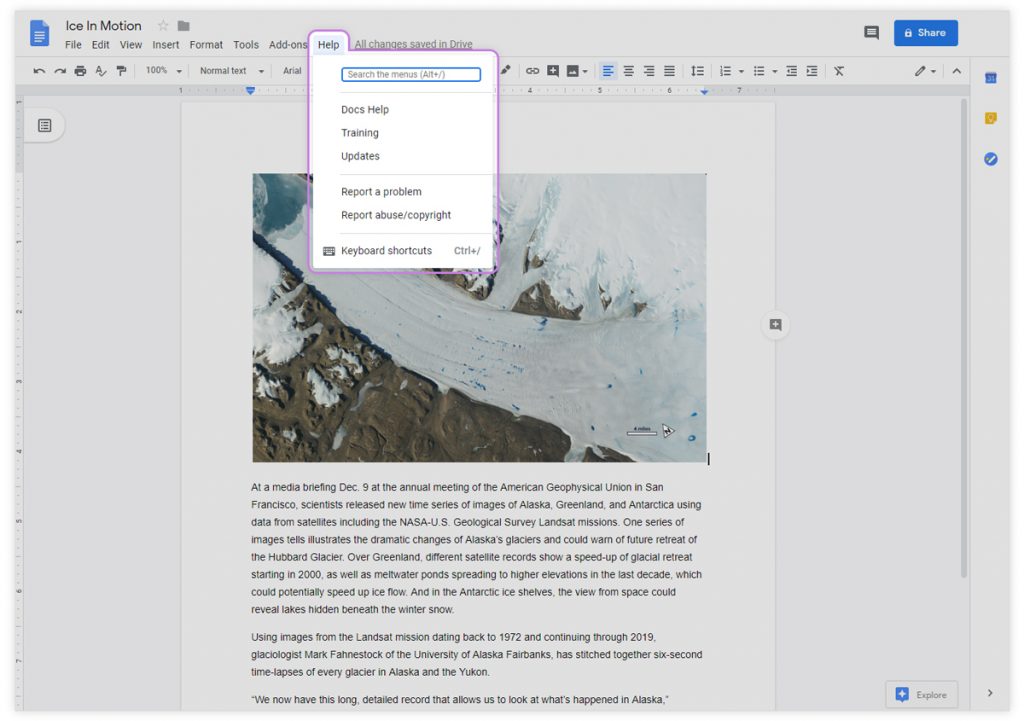
This shortcut opens the “Help” menu which you can use to search the different menus, use the Docs help center, training guide, updates, report a problem and more.
Read more: 5 Best Wiki Tools for Managing Knowledge
11. Add a Chart or Table from Google Sheets to Google Docs
Google Docs is great for the documentation but not so for crunching numbers and presenting large data into a viewable format. That’s what Google Sheets is there for. If you want to insert a chart or a table from Google Sheets, you can do that easily.
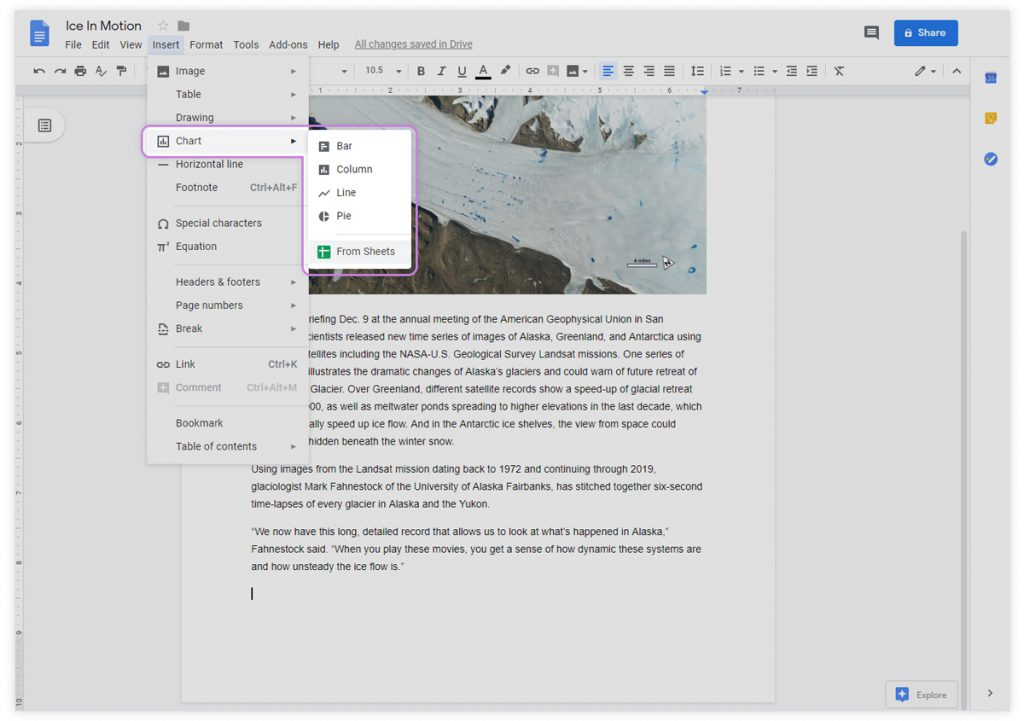
Add a Chart from Google Sheets to Google Docs:
- Open a document or presentation in Google Docs
- Click Insert from the top menu and select Chart > From Sheets.
- Click the spreadsheet with the chart you want to add, then click Select.
- Click the chart you want to add.
- If you don’t want the chart linked to the spreadsheet, uncheck “Link to spreadsheet.”
- Click Import.

Add a Table from Google Sheets to Google Docs:
- On your computer, open a sheet in Google Sheets in Google Chrome or Firefox.
- Select the cells you want to put in Docs.
- At the top, click Edit > Copy.
- On your computer, open a document or presentation in Google Docs
- Click where you want to put your table and click Edit > Paste.
- Choose “Link to spreadsheet” or “Paste unlinked” and click Paste.
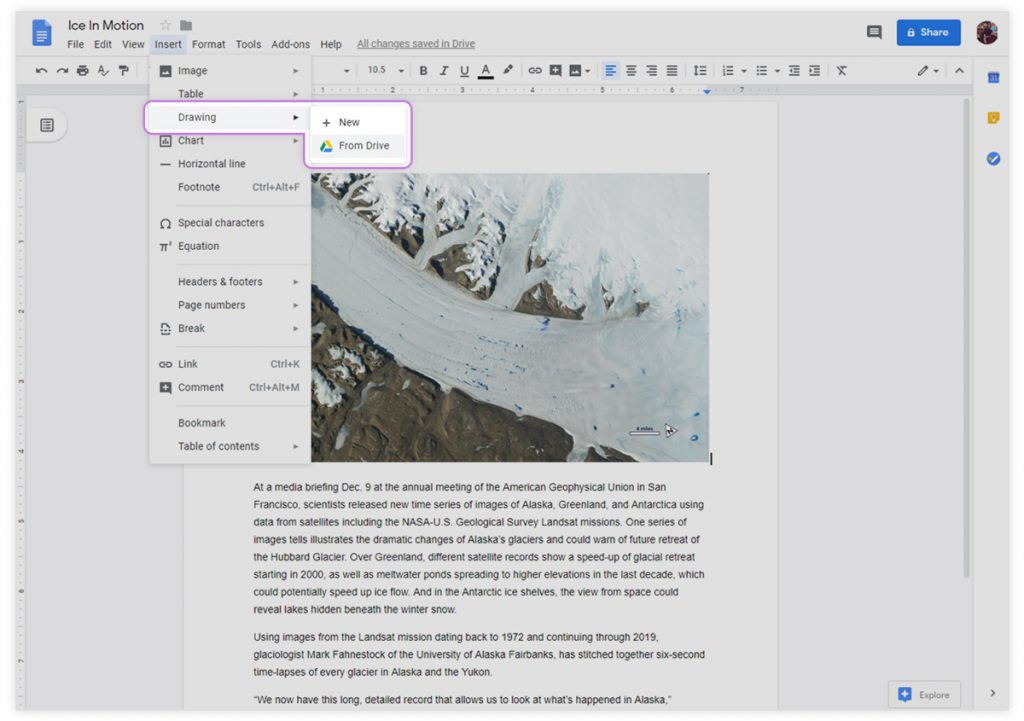
12. Insert an Image into your Google Doc
There are many ways you can insert an image into your Google Doc and make it more presentable. Go to the ‘Insert‘ tab on the top menu and click ‘Image‘. From there, you are presented with many options you can use to insert an image based on your convenience.
From your computer: You can choose this option when you have the image stored on your PC.
From Google Drive: If you have backed up your photos in Google Drive, you can also have the option of inserting an image directly from your Drive.
From Google Photos: All your phone photos stored in Google Photos are synced to the cloud. You can use this to your advantage by inserting an image from Google Photos directly to your doc.
From a URL: If you saw an image on the internet you want to insert on your doc, you can do that by simply inserting the URL of the image and Google will automatically fetch the image and place it inside your document.
Search the web: Remember how Google Docs has this whole search engine built-in. You can use that to search the internet for your desired image and insert it directly inside your document, without ever leaving it!
By Camera: Lastly, you can even use your computer’s webcam to click a picture and insert it inside your document.

13. Adding Comments
Google Docs is all about collaboration. Effective collaboration means a two-way dialogue between collaborators, which can be achieved by the help of comments inside a Google Doc.
If you want to suggest any changes, give feedback, ask questions, highlight changes, or take notes inside the doc you are working on, you can leave comments inside a doc. The comments also act as a conversation thread, as people can discuss the document on the right side of any doc. You can ‘resolve’ any feedback or comment once you decide that it’s no longer needed. Users can also edit or delete their or someone else’s comments at any time.
To add a comment:
- Highlight the text or image you’d like to discuss
- Click on the Insert from the menu at the top of your screen.
- Select comments from the dropdown menu.

You can also do this by clicking anywhere (preferable by highlighting the word or the paragraph you want to comment on) and then hovering your mouse over to the right-hand side divider of your Google Doc. From there, you can click on the comment button and start your conversation.
14. Tag People to Get Their Attention
If you have a lot of people collaborating on a Google Doc, sometimes the comments can get messy. If you want a specific person’s opinion or feedback, you can do that by simply @mentioning them inside a comment.
Type an @ or + sign and start typing the name of the person you want to notify. Google Docs will show you choices based on your Gmail contacts, and notify the person you mentioned via email.
Read more: Best Documentation Tools for the Digital Age
15. Automatic Word Substitution
Are there some keywords or phrases you frequently use? You can use personal keyboard shortcuts to automatically fill in words or phrases you use repeatedly using the automatic word substitution option.
Basically, it allows you to create your own personal keyboard shortcuts to get work done quickly.
To create your own shortcuts:
- Open a Google Document and click Tools Tab from the menu at the top of the page.
- Select Preferences
- In the preference menu, you are presented with a bunch of options. Check the Automatic Substitution button and add the words you want to replace.

16. Get Definitions and Synonyms with Dictionary
Don’t know the meaning of a particular word written in a Google Doc shared with you? Or perhaps you want to replace a simple word with something that sounds professional or fancy? Dictionary to the rescue!
You can simply highlight any word in your Google Doc and right-click it. From there, click on “Define” and Google Doc with present you with the complete definition of the word along with its synonyms.
You can also right-click any word click on “explore” in order to search on the web about it or get related images.

17. Give your Google Docs Superpowers with Add-Ons
There are a lot of things Google Docs can do. For everything else, there’s the Google Docs Add-ons Store! Add-ons are simply small software that you can add to Google Docs to enhance its functionality. You can think of them in the same way as Chrome Extensions are for your Chrome Browser.
To Get Add-ons:
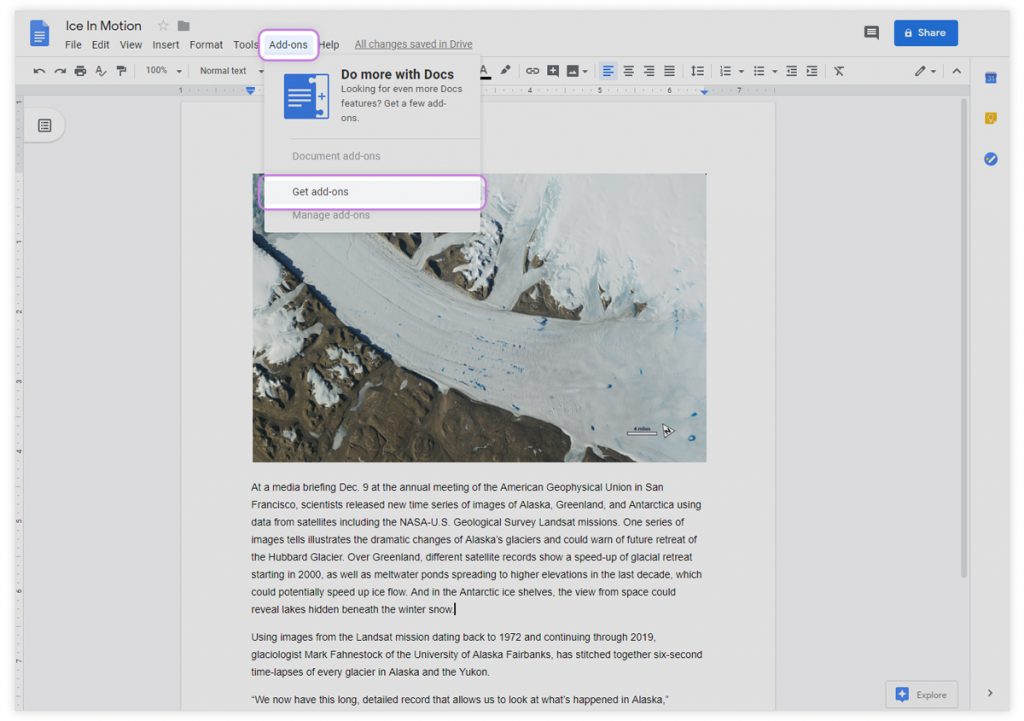
- Open a Google Doc and click Add-ons tab from the menu at the top of the page.
- Select “Get Add-ons”. You can now look for different functionalities you want to add to your Google Docs and can even browse by categories like Business, productivity, education, and more.
- Click on any add-on to install it. Once you’ve installed an add-on, you can access it from the “Add-ons” menu.
Congrats! You are now a Google Docs pro!
And there you have it…some of the best Google Docs tips you wish you’d known earlier! Put them to good use and take your Google Docs experience to the next level.
Did we miss out on your favorite Google Docs tip or feature? Do let us know by tweeting us at @elink_io
Further Reads:
Don’t want to forget this information?
Pin it for future reference!